Steps for Proper Installation of Ceiling Lights
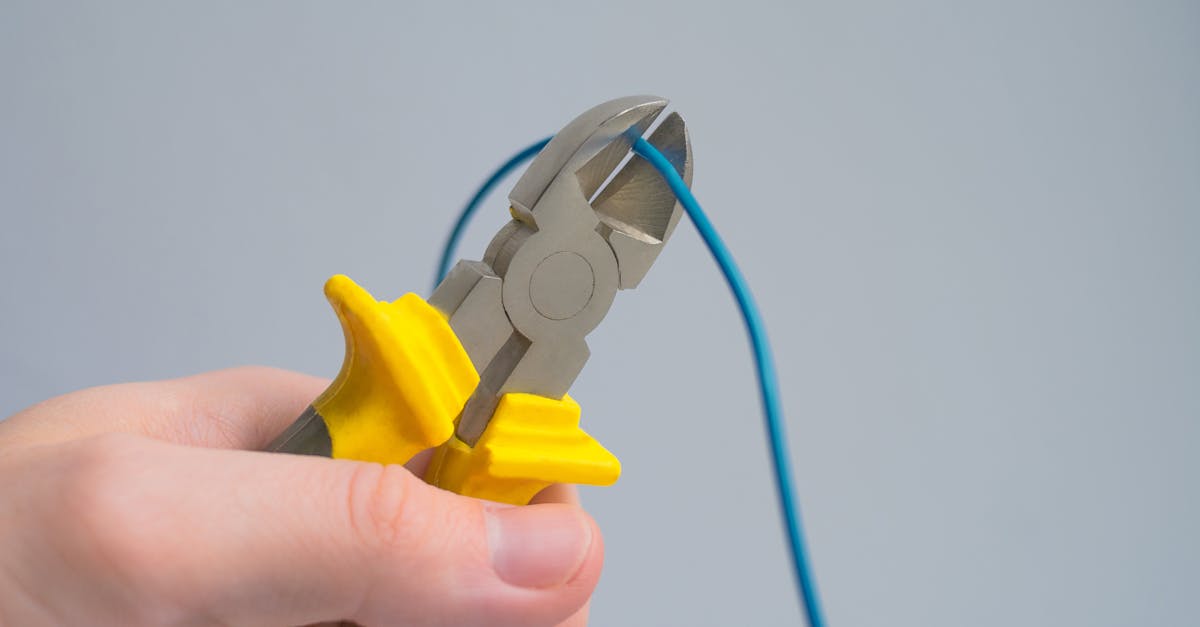
Table Of Contents
Connecting the Wiring
Before proceeding with the installation, ensure that the power to the circuit is turned off at the breaker box. This safety precaution prevents any risk of electric shock. After ensuring the power is off, remove the existing light fixture carefully. Take note of how the current wires are connected to aid in proper reconnection. Strip the insulation from the ends of the wires if needed to create clean connections.
When connecting the new fixture, match the wires correctly to ensure functionality. Typically, the black wire is for the live connection, the white wire serves as the neutral, and the green or bare wire is for ground. Twist the corresponding wires together securely using wire connectors, making sure there are no exposed wire ends. This step is crucial as improper connections can lead to electrical malfunctions or hazards.
Matching Wires Correctly for Functionality
Identifying the purpose of each wire is crucial for a successful installation. Power wires typically come in three colours: black or red for the live wire, white for the neutral wire, and green or bare for the earth wire. Before proceeding, ensure the circuit breaker has been switched off to protect against electrical shocks. Once you have located these wires, carefully strip about 1 cm of insulation from the ends to ensure proper connections.
Connecting the wires correctly involves matching them based on their function. The live wire from the ceiling should connect to the live wire of your fixture seamlessly. The same goes for the neutral wire, which should link with the corresponding neutral wire in your light fixture. Finally, the earth wire ensures safety by connecting the fixture to the grounding system, minimising the risk of electric shock. Checking the connections with a multimeter can help confirm that everything is set up correctly before turning the power back on.
Securing the New Light Fixture
Once the electrical connections are complete and insulated, the time to secure the light fixture has arrived. Align the fixture with the mounting bracket or screws, ensuring that any necessary alignment features are correctly set. Gently push the fixture towards the ceiling while twisting it, if applicable. This initial positioning ensures that it sits firmly and is ready for secure fastening.
Utilise the screws or clips provided with the fixture to attach it to the mounting bracket. It is essential to avoid overtightening, as this may lead to damage. Instead, tighten just enough to hold the fixture in place securely. Confirm that there are no exposed wires and that the fixture is stable. Once everything is assessed, you can proceed to the next steps of installation.
Proper Mounting Techniques for Safety
Ensuring the light fixture is securely mounted is crucial for both stability and safety. Start by using the appropriate anchors or screws depending on the mounting surface. For ceiling installations, ceiling joists provide the most secure anchor points, so it is advisable to locate them with a stud finder. When attaching the fixture, use the right tools to tighten screws without over-tightening, as this may cause damage.
Regularly check the stability of fixtures once installed. Vibration from normal use can loosen connections over time. It's wise to inspect the mounting every few months, ensuring nothing has shifted or become loose. If any instability is detected, it's best to rectify the issue immediately to prevent hazards like falling fixtures or electrical shorts.
Installing Light Bulbs
Selecting the appropriate light bulbs for your fixture is crucial to ensure optimal performance and longevity. Consider the fixture’s wattage rating. Exceeding this rating can lead to potential hazards. Energy-efficient options such as LED or CFL bulbs can provide significant savings on your electricity bills while also offering a range of colour temperatures. Choosing a bulb that complements the atmosphere of the room will enhance its overall appeal.
When installing the bulbs, make sure to handle them with care. Begin by ensuring the fixture is turned off and has had time to cool down, especially if it was recently used. Gently screw the bulbs into the sockets, taking care not to apply excessive force that could cause breakage. After securing the bulbs, turn on the power to check if they light up properly. Should any bulbs fail to illuminate, double-check your installation or replace them if necessary.
Choosing the Right Bulbs for Your Fixture
Selecting the appropriate light bulbs is essential for achieving the desired ambience and functionality in your space. Different fixtures have specific requirements related to bulb size, shape, and type. Standard options include incandescent, LED, and halogen bulbs, each offering distinct benefits such as energy efficiency and brightness levels. Always refer to the fixture's specifications to determine compatible bulb types and wattage limits.
Consider the colour temperature of the bulbs as it influences the overall atmosphere. Warm white bulbs create a cosy and inviting feel, while cool white options produce a more vibrant and energising environment. Additionally, dimmable bulbs can enhance the flexibility of your lighting design, allowing you to adjust the brightness according to the time of day or occasion. Make thoughtful choices to maximise both style and functionality in your lighting setup.
FAQS
What are the first steps to take before installing ceiling lights?
Before installing ceiling lights, ensure the power is turned off at the circuit breaker, gather all necessary tools and materials, and read the manufacturer's instructions for the light fixture.
How do I match the wires correctly during installation?
Match the wires by identifying the corresponding colours—usually black or red for live wires, white for neutral, and green or bare for ground. Always refer to the instructions provided with your light fixture for specific wiring details.
What mounting techniques should I use to secure the light fixture?
Ensure the mounting bracket is securely attached to the ceiling joist, use appropriate anchors if needed, and double-check all screws and fittings to ensure they are tight to prevent the fixture from becoming loose over time.
How do I choose the right bulbs for my ceiling light fixture?
Check the manufacturer's specifications for the fixture to determine the appropriate bulb type (e.g., LED, incandescent, or CFL), wattage limit, and base type. Consider the brightness (lumens) and colour temperature (Kelvin) based on the desired ambiance.
What safety precautions should I take during installation?
Always turn off the power at the circuit breaker, use insulated tools, wear safety goggles, and avoid working in wet conditions. If you're unsure about any step, consult a professional electrician for assistance.
Related Links
Importance of Professional Lighting RepairsBenefits of LED Lighting for Tullamarine Residents
Understanding Different Types of Residential Lighting
Common Lighting Issues and How to Fix Them
Enhancing Home Ambiance with Custom Lighting Designs